Installing Rancher 1.6 on Ubuntu 18.04 (and newer)
I had been trying to find a tool that would allow management of K8s cluster or standalone docker containers. After much of research found that rancher works well with k8s cluster and standalone containers. However, the challenge was getting it to work, the installation is not straightforward and the user guides available have some or the other steps missing.
I will also cover some of the issues and advanced configuration in the subsequent posts.
Pre-requisites
- An Ubuntu system
- Access to a command-line/terminal
- A user account with sudo or root privileges
Step 1: Install Docker
- Before downloading any new packages, always make sure to update your system.
sudo apt update - Uninstall any old Docker versions by running the command.
sudo apt-get remove docker docker-engine docker.io - Now you can install Docker
sudo apt install docker.io - Verify the installation was successful:
docker --version
- Start the Docker service:
sudo systemctl start docker - Set it to run at startup:
sudo systemctl enable docker - Finally, check the status of Docker:
sudo systemctl status docker
The output should display the service is active (running).

Note: As an alternative, you can Install Docker from Official Repository.
Step 2: Install Rancher
Once you have set up Docker, use the platform to create a container where you can run the Rancher server.
- Create a new Rancher server container using the following command:
sudo docker run -d --restart=unless-stopped -p 8080:8080 rancher/server:stable
In my scenario, i had used port 8090 as 8080 was used for some other application.
Hence, my command was:
sudo docker run -d --restart=unless-stopped -p 8090:8080 rancher/server:stable
The command above instructs Docker to run the container in detached mode and to keep it running (unless it is manually stopped). The server container is configured to listen to port 8080, but you can modify the port number according to your needs. Docker should pull the latest Rancher image and launch the container.
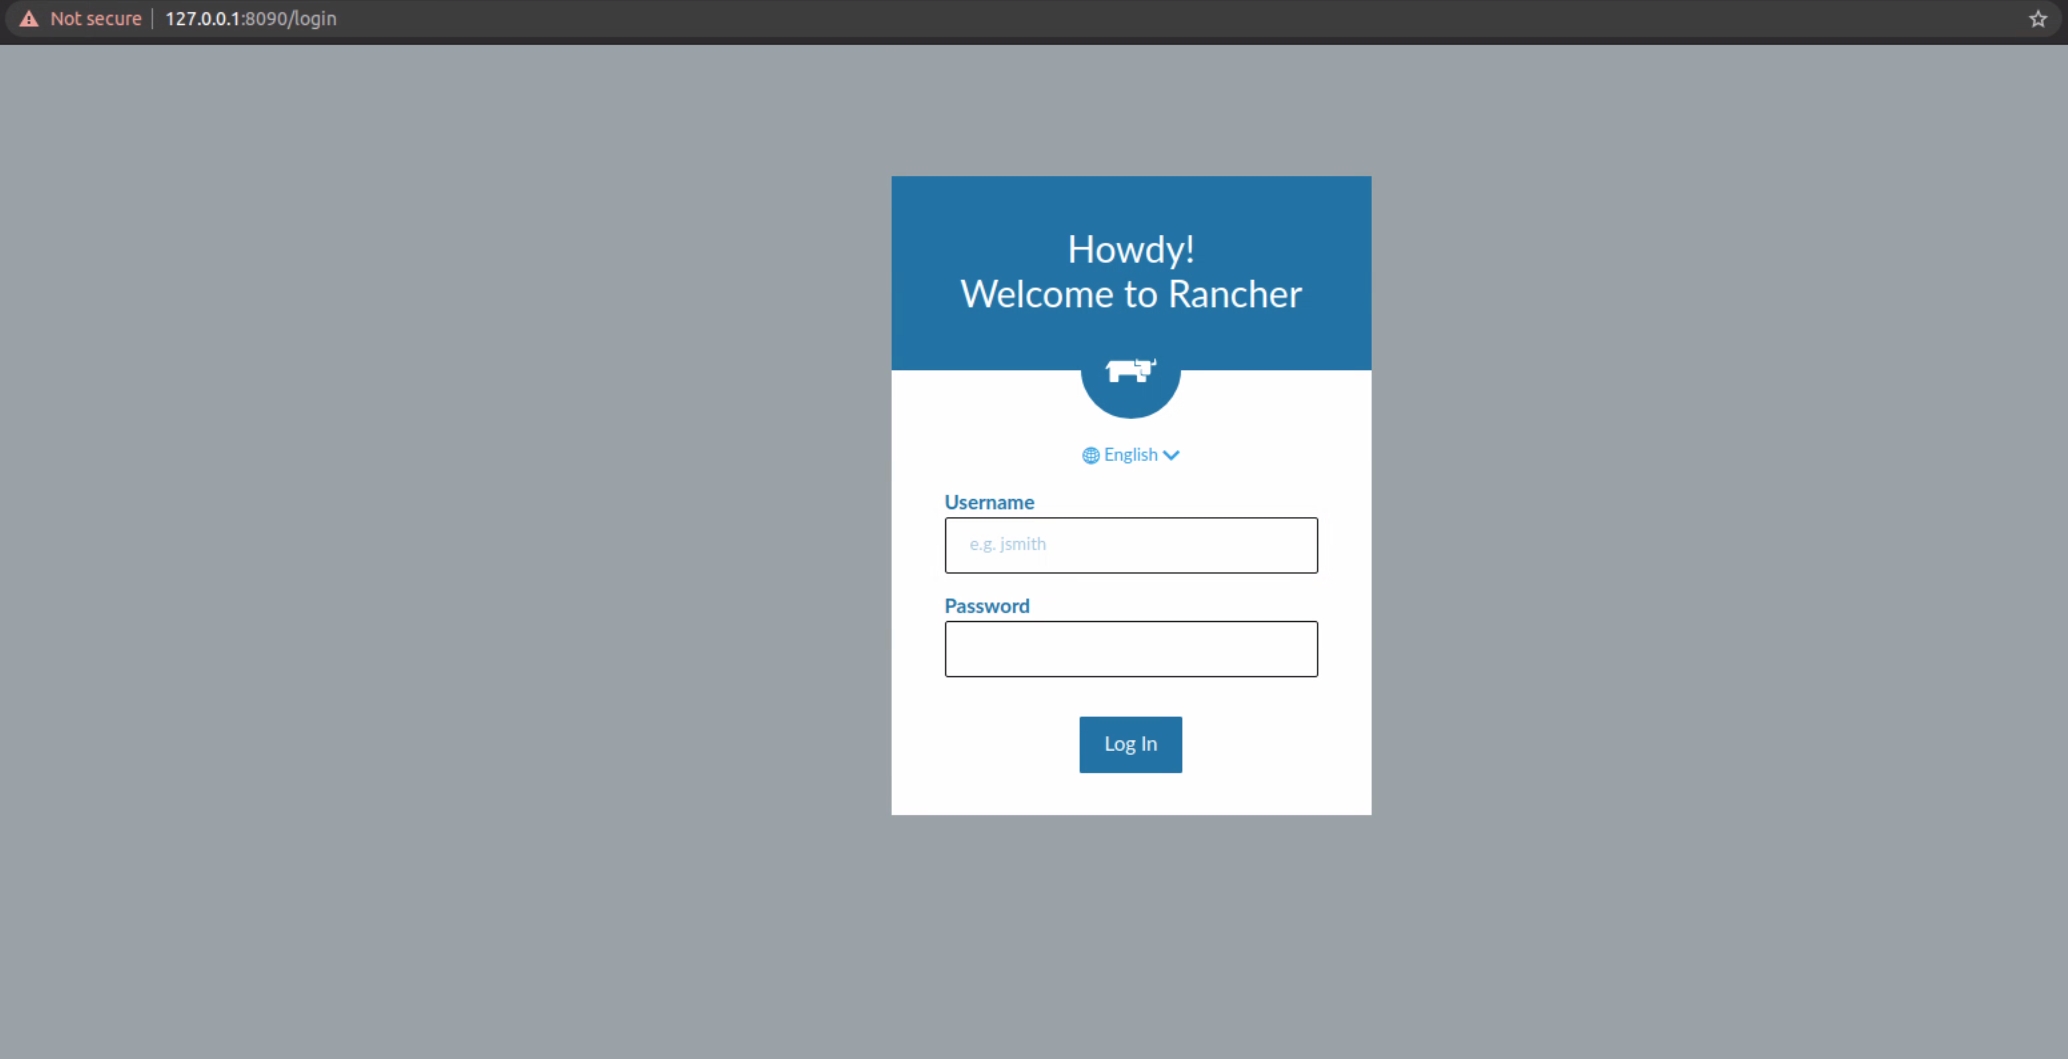
- To access the Rancher user interface, open a web browser and type the server IP number and port in the URL bar following the syntax:
https://[server_ip]:[port]
Step 3: Configure Rancher
Once you have accessed the platform, Rancher instructs you to set up the Admin user (one that has full control over Rancher).
-
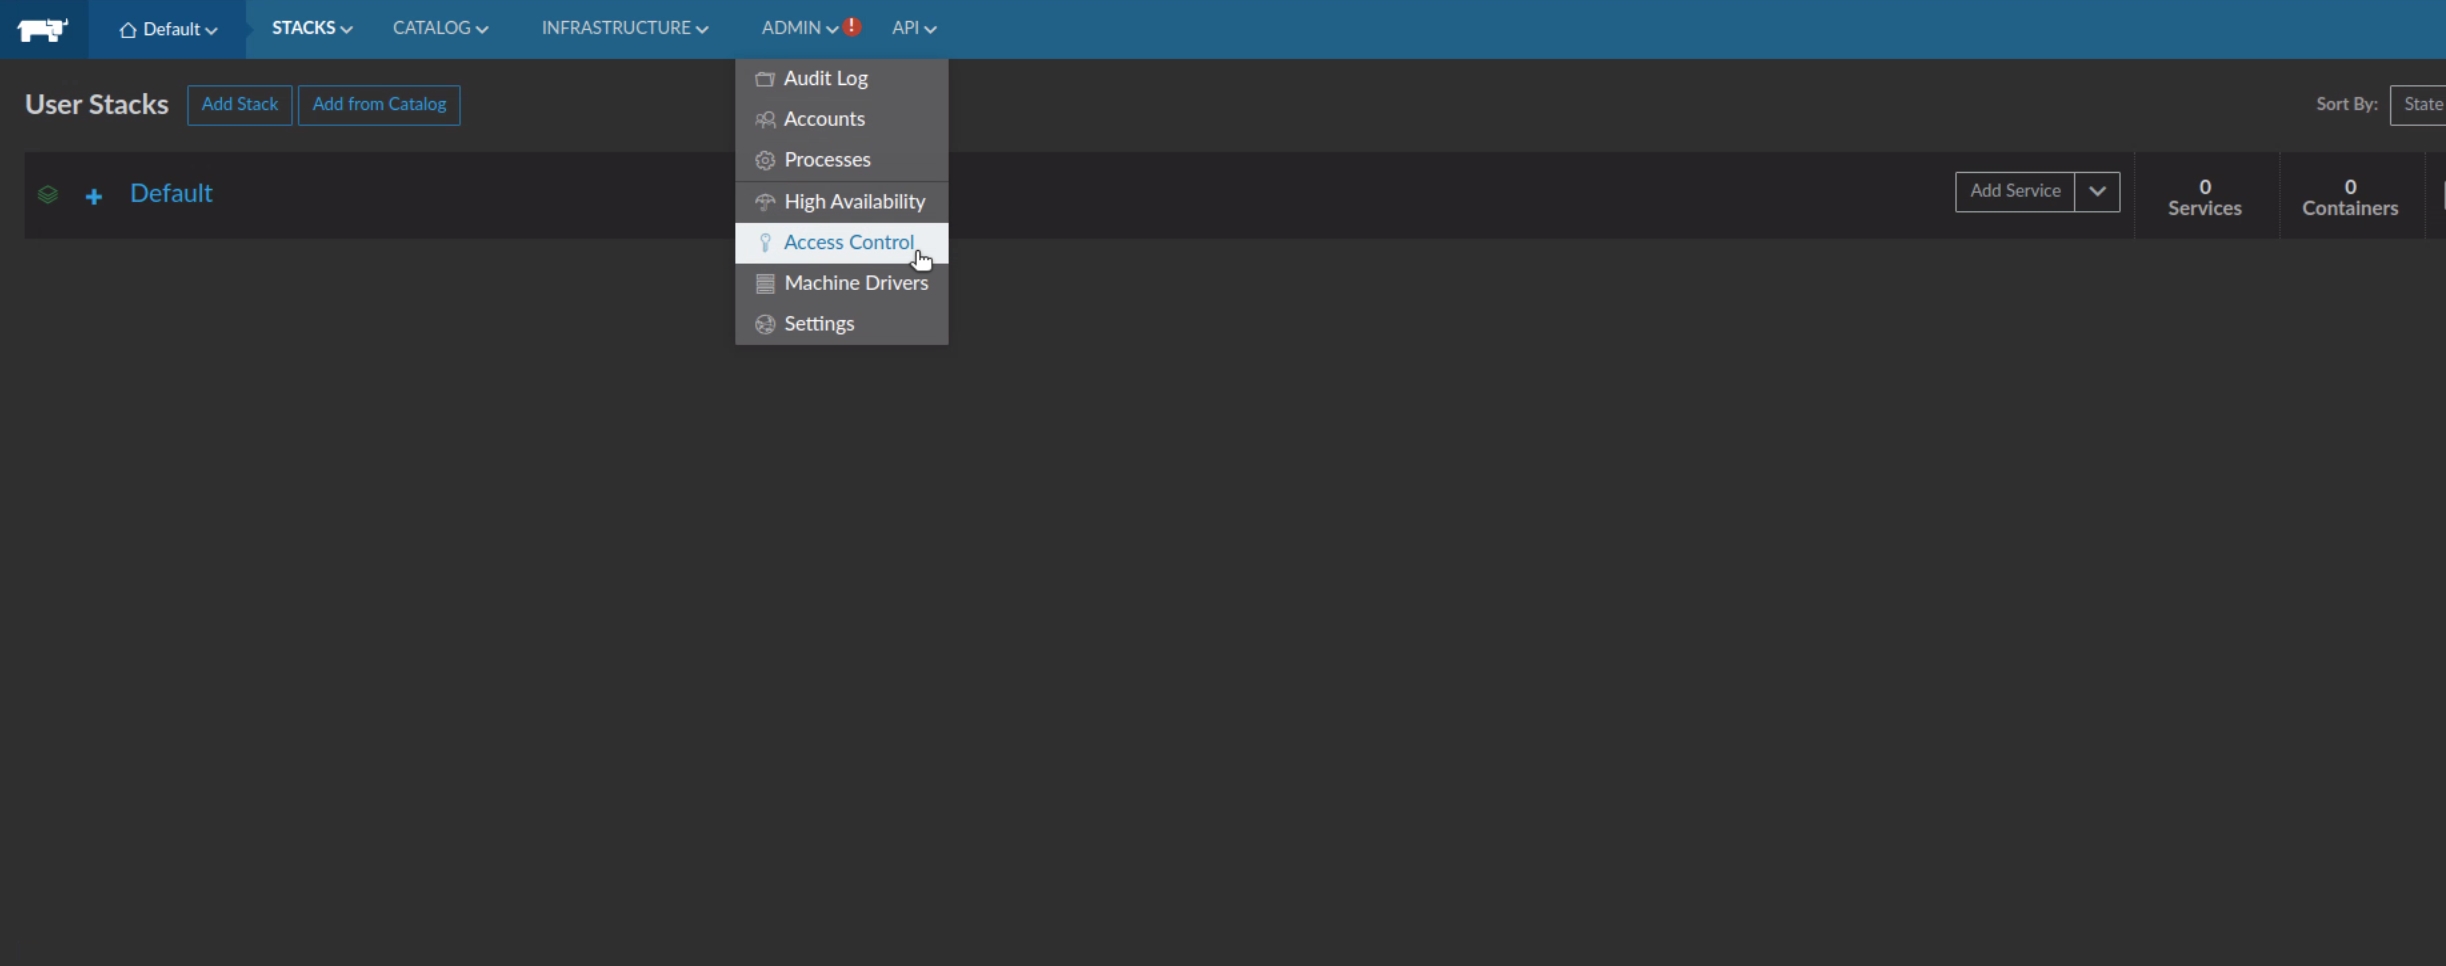
Open the ADMIN drop-down menu and click Access Control.

-
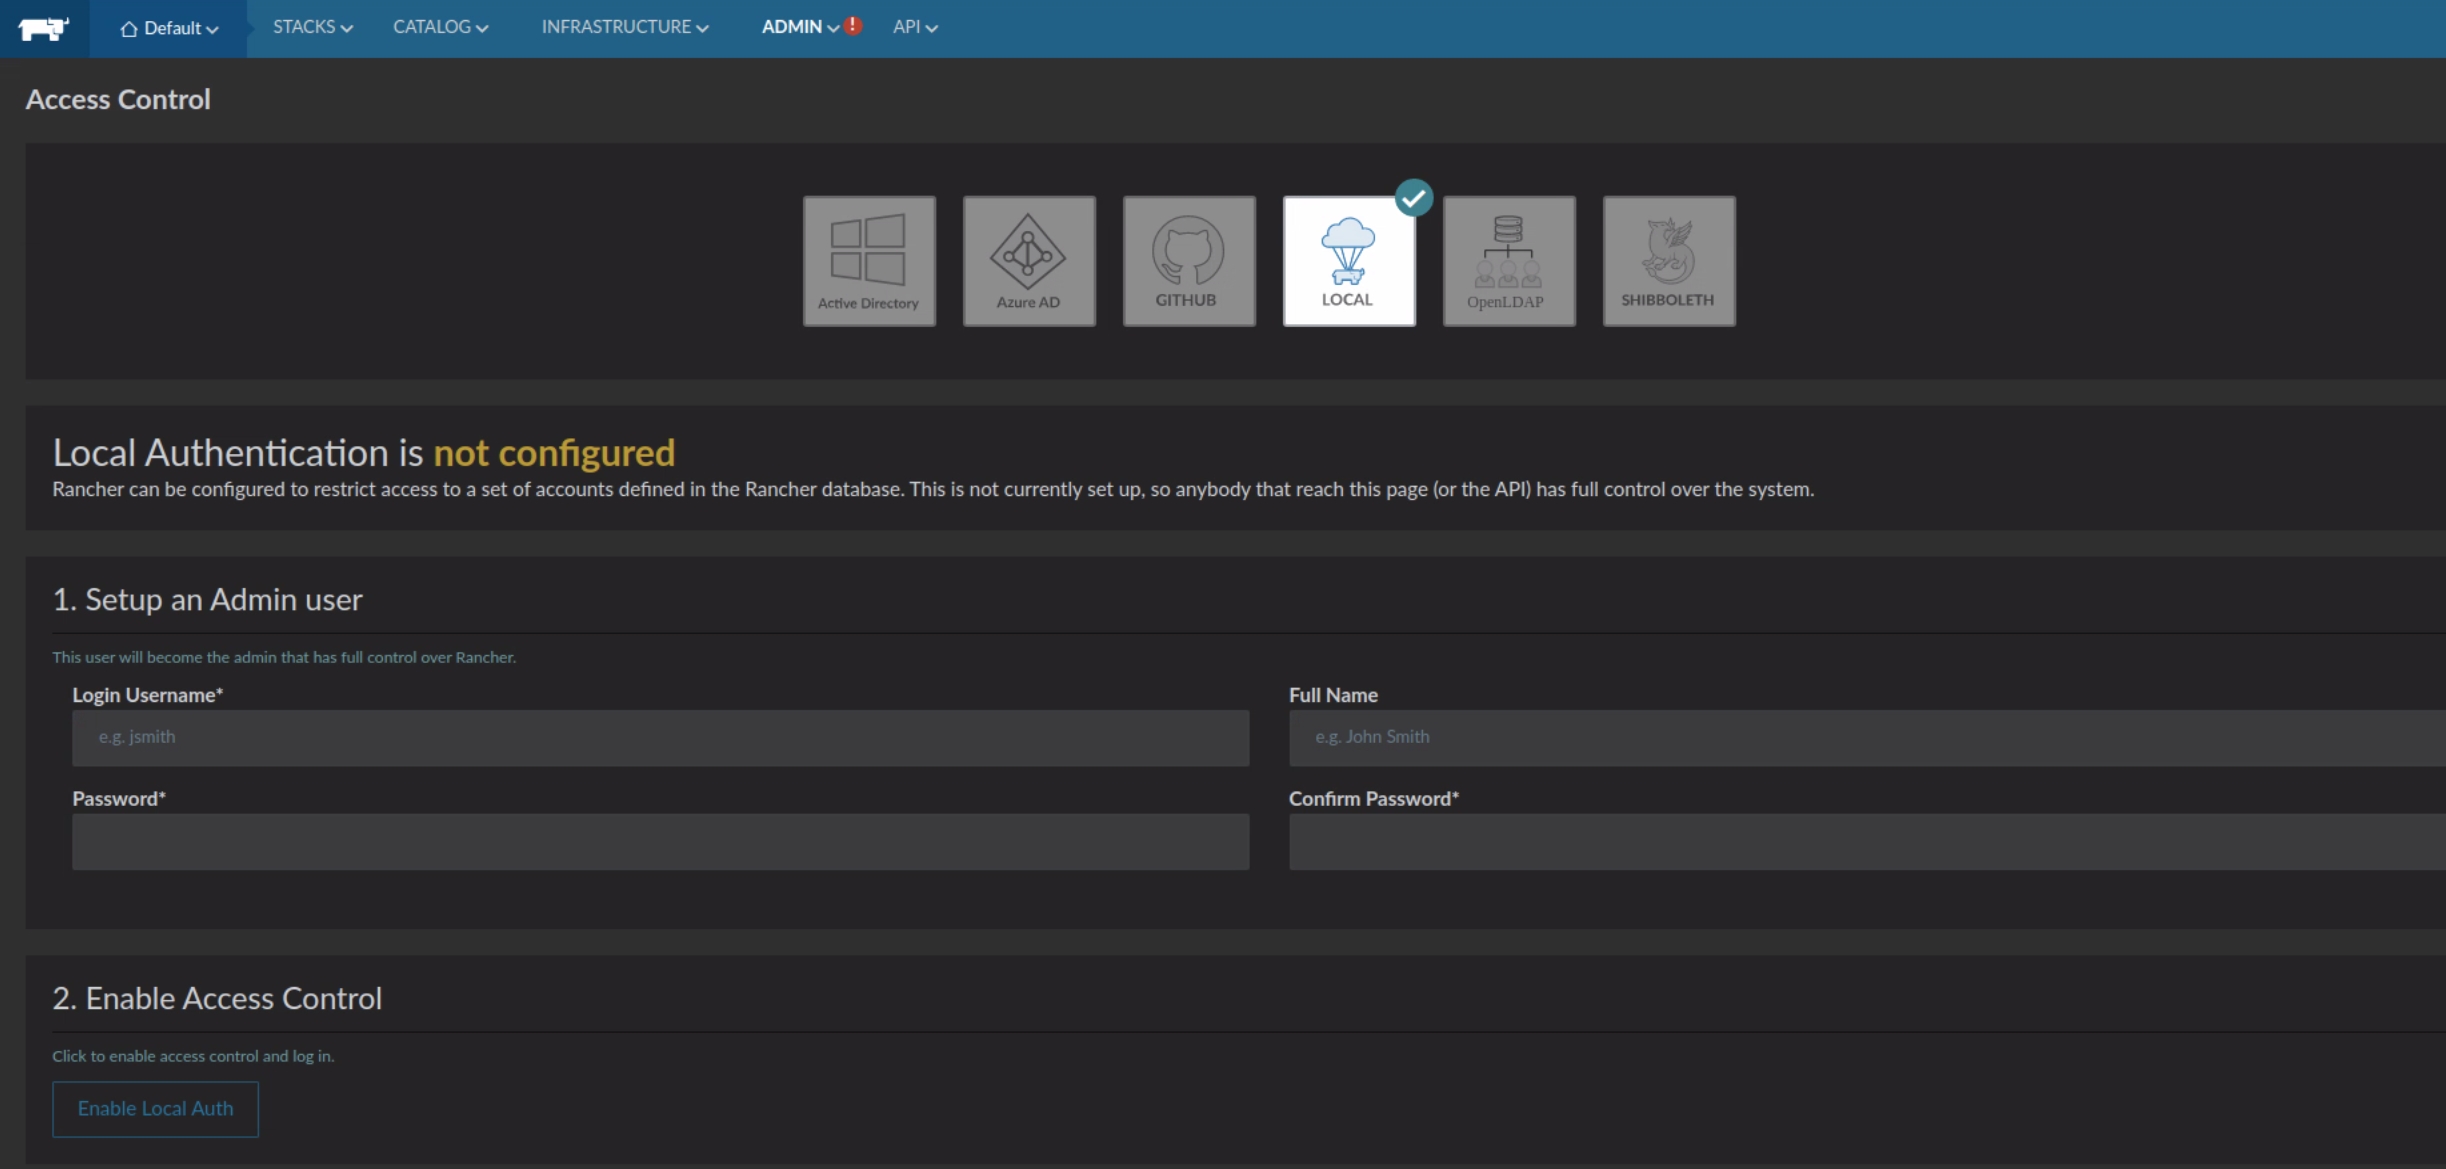
Click the LOCAL button in the menu to move to the Local Authentication window.

-
Provide the required information to set up an Admin user and click Enable Local Auth to confirm.
Rancher has many options for authentication such as Active Directory, Azure Active Directory, Github, LDAP and Local. For the purpose of this demo we would use Local
Next Part
- Configuration of SSL Certificate
- Configuration of Azure Active Directory
Issues
- Host Registration fails because of SSL Certificate not configured
- Rancher Agent - unable to connect to the rancher server